Install and connect
This guide takes you from installing the extension to adding your repositories to CodeZero.
Before you begin
CodeZero runs inside Visual Studio Code. The current extension requires VS Code 1.90.0 or newer.
CodeZero adds system context and structured workflows around a coding agent — it does not replace one. Install the agent you already use first, sign in to it, and confirm it runs in VS Code before connecting CodeZero.
Code Graph, Git tools, repository browsing and the feature view can still be used without an agent.
- Claude Code
- Install the Claude Code extension from the Marketplace, or run npm install -g @anthropic-ai/claude-code and launch claude once in your project root to complete sign-in. Requires a Claude account on a plan that includes Claude Code. Open the Claude Code panel and send any prompt to confirm — a signed-out agent produces no output.
- Codex
- Install the Codex extension from the Marketplace, or run npm install -g @openai/codex and launch codex once to authenticate. Sign in with the account that carries your Codex access; an API key alone is not enough if your organisation requires SSO. Codex runs in its own sandbox by default — leave that setting as it is, since CodeZero supplies context rather than execution permissions.
- GitHub Copilot
- Install GitHub Copilot and Copilot Chat from the Marketplace, then sign in with the GitHub account holding your Copilot subscription. Send a prompt in Copilot Chat to confirm the seat is active — an expired or unassigned seat leaves the panel installed but unresponsive. If your organisation restricts Copilot by repository, confirm the repository you are working in is permitted.
claude --versionCodeZero does not ship any of these agents and does not replace or modify their authentication.
Install the extension
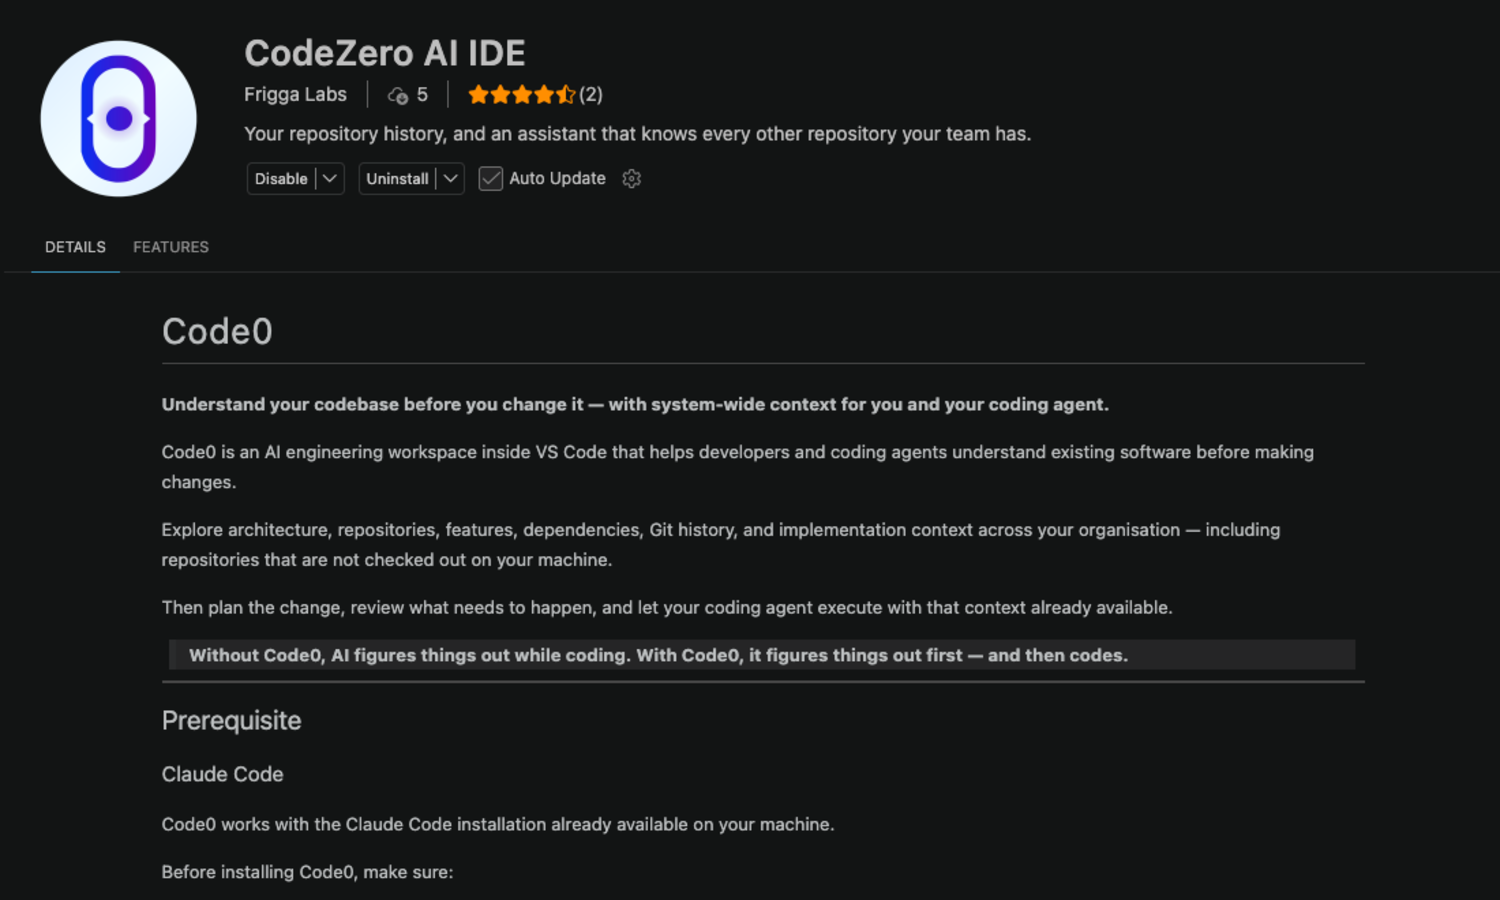
Install CodeZero from the Visual Studio Code Marketplace.
You can also install a provided .vsix package. After installation, open CodeZero from the VS Code Activity Bar.
Sign in or create an account
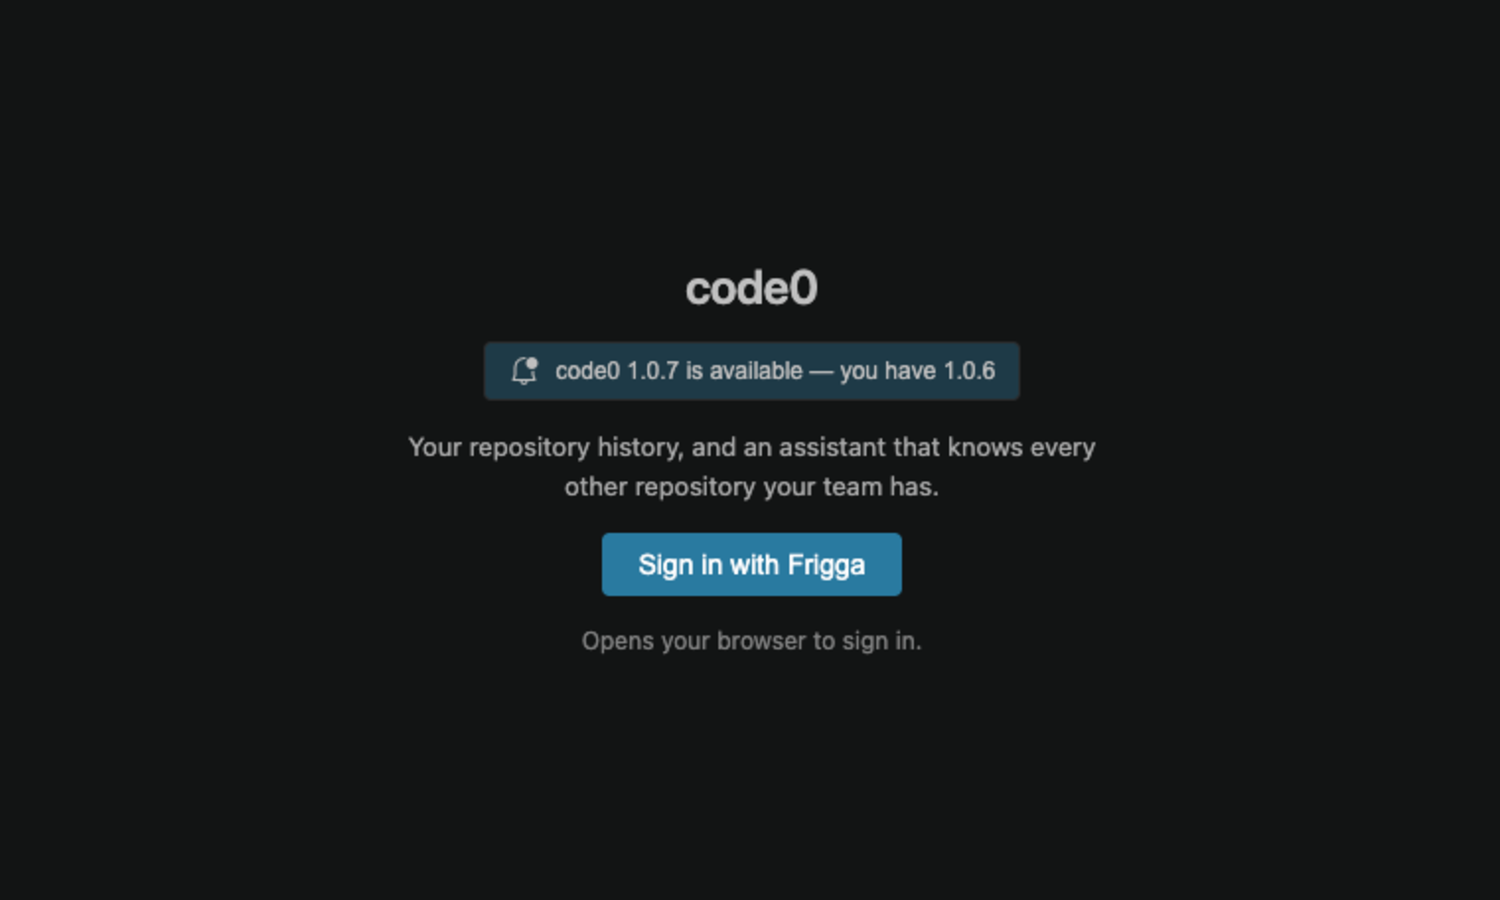
A fresh installation starts signed out. Select Sign in with Frigga from the CodeZero panel; your browser opens to complete authentication.
If CodeZero cannot find an associated account, it redirects you to the Frigga account setup flow: create an account or sign in, then verify your email with the OTP sent to you.
Product access is separate from authentication, so a valid Frigga account can still lack a CodeZero seat — an administrator may need to grant access.
Select your organisation
Choose the organisation you work in. If your account belongs to only one organisation, this step completes on its own.
If CodeZero is connected to the wrong organisation, sign out, sign in with the correct account, select the intended organisation and start a new session.
Add your repositories
Add the repositories you work across from inside CodeZero with the + button. CodeZero works with the repositories on your machine, wherever they are hosted.
Add every repository a change might reach, not only the one you are working in. A repository you haven't added is not visible to CodeZero.
Wait for repository indexing
CodeZero indexes the main branch of each repository you add on your machine. Only structural data, such as symbols, imports, routes and dependencies, is sent to Frigga's server, which builds the graph behind Code Graph, Feature Mapping and cross-repository context. Your source code stays on your machine.
Each repository shows its current state while it indexes, refreshes or if indexing fails. Refresh the panel once indexing finishes.
Confirm your setup
Your setup is ready when:
- You are signed in to CodeZero.
- The repositories you added appear in the Files view.
- The repositories you need show an indexed state.
- Claude Code can be detected if you intend to run agent turns or name features.
You can now explore the system, investigate a feature and plan your first change.